|
|
|
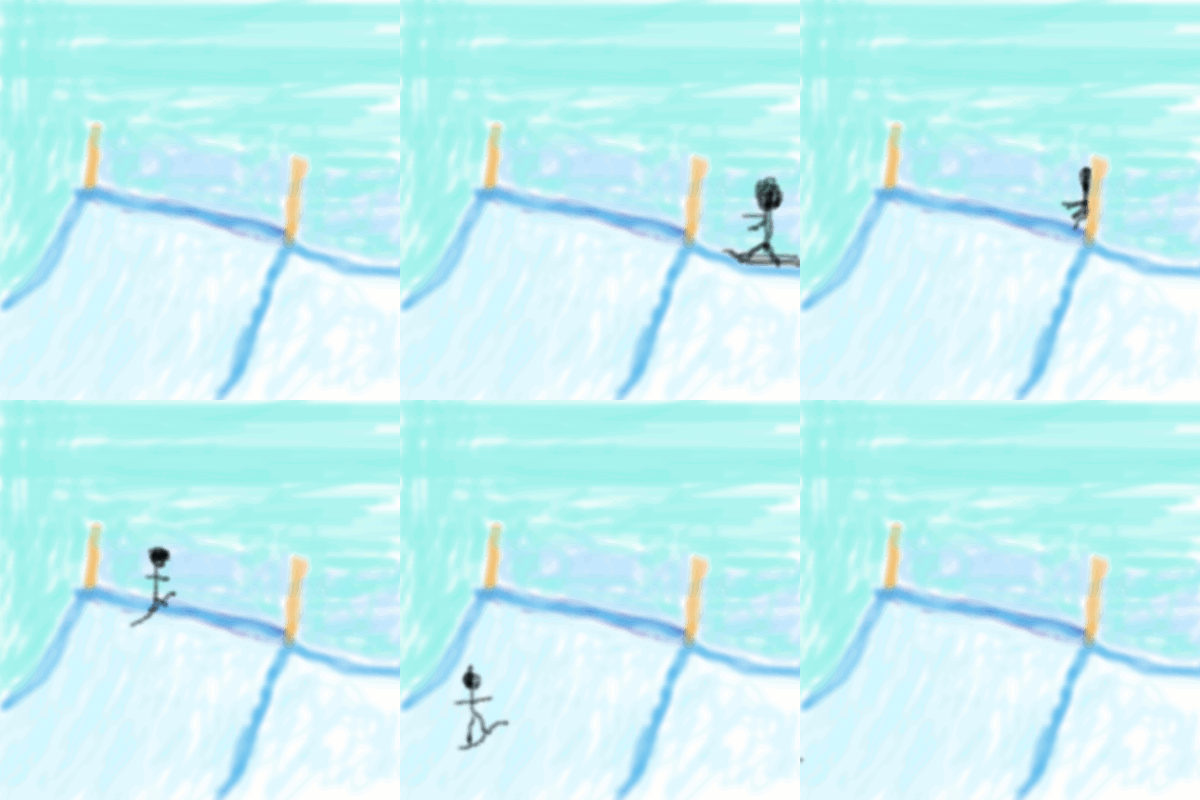
Snowboarding GIF This GIF was created using Gimp Image Editor. It depicts a snowboarder going over a jump. I started with a solid background and made over two hundred copies of it. Then, I made a snowboarder slowly moving forward every frame, and it ended up like this. The hardest movement to capture was the moment the snowboarder went down the jump, where he gains speed. To do this, I drew the snowboarder farther forward every frame, making it seem like he was speeding up. I was pretty satisfied with the end result, considering I had a limited time period and had to draw over two hundred snowboarders. |
 |
|
This is the prospectus for my oil painting. I named it Manitou, the name is the snow hill at Cascade Mountain that it was modeled after. My prospectus depicts a snowy hill with a big sun and trees lining the sides. |
|
|
The first step of making my painting was cutting the wood with the hand saw. I planned on making my canvas over three feet but then changed my dimensions to 18x28 inches. My canvas is a rectangular landscape. To make the rectangle I cut two 28 inch wood pieces with a 45 degree angle on each end and then did the same for the two 18 inch wood pieces. |
|
|
The second step is to glue your canvas pieces together. You can use the canvas holder/clamps to keep things together and straight once it's glued. I used wood glue to glue the pieces together. |
|
|
The third step is cutting the canvas. A very simple step where I cut the canvas five inches larger than each dimensions on all sides. So the new dimensions are 23x33. This allowed for room to stretch the canvas over the back and staple it. |
|
|
The fourth step in this process was stapling. We used a industrial stapler. I started by making one staple on one side and making another staple on the opposite side. Then I repeated this process until I reached the edges, making the staples each one inch apart. Kind of like putting the springs on a trampoline. |
|
|
The fifth step is folding the corners and then stapling them, while cutting off the excess. After finishing that, I brushed water on the back which tightened the canvas and stretched it like a drum over the wood pieces. After a day my canvas was ready to paint. |
|
|
The first step of the actual painting process is called the Imprimatura. To start it, you mix some brown or burnt sienna (burnt sienna is more popular for the Imprimatura) with a paint thinner to make it almost liquid, then paint the outline of your picture onto the canvas. You can already start to see the ski lift, trees, and ski hill. |
|
|
At this point I am about half way done. I have already painted the snow hill, and I decided that I will also paint a cliff on the left side and give up on the ski lift. I mixed white with a little bit of gray to make the snow. |
|
|
Artist Statement My name is Charlie Haight and, as you can see, I really like snowboarding. I made this oil painting with oil paints, paint thinner, and walnut oil. I show all the steps to making it above. I also made a GIF showing a snowboarder going over a jump. My painting depicts a snow hill next to a cliff with an orange and red sky. On the right side there are beautiful green trees in the foreground and tall evergreens in the background. |
|
|
This sketch depicts a close up image of an eye with the reflection of an airplane and a building. |
|
|
This sketch is a hallway where I experimented with shadow. |
|
|
This is one of my best sketches in my opinion, showing three mountains and a giant sun casting their shadows over the flat plain. |
|